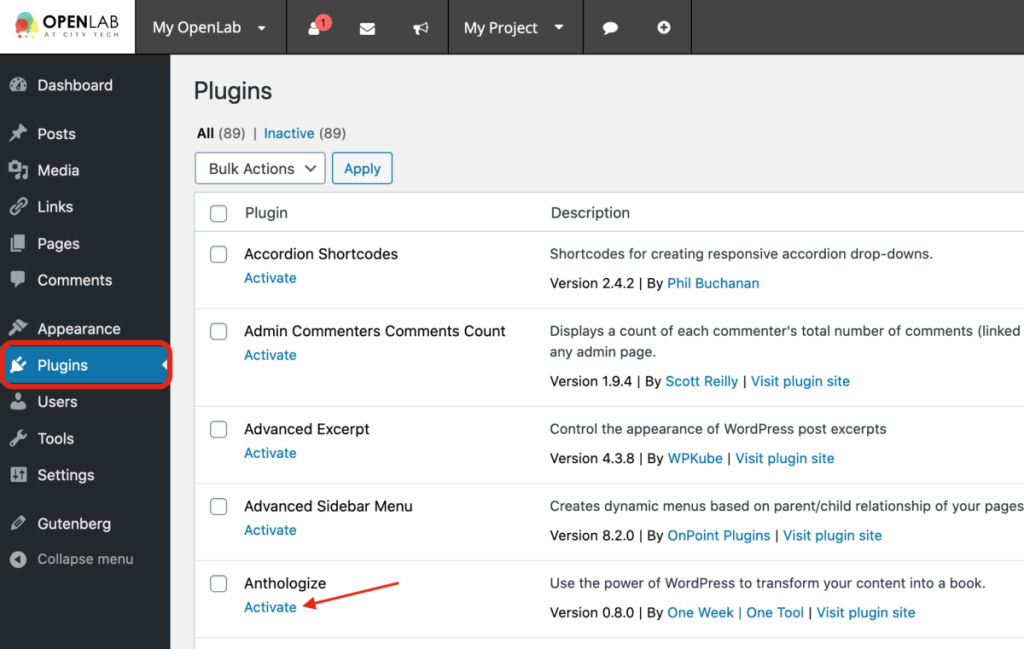
Plugins add functionality to your course, project, or portfolio site. A plugin may allow you to create, manage, or edit features of your site that you cannot normally create, manage, or edit without the addition of a plugin. You can view available plugins by going to your site Dashboard and clicking Plugins > Installed Plugins.
1. You can add plugins to your site by going to your site Dashboard and clicking Plugins in the left-hand menu.
2. Once you have selected the plugins that you would like to activate on your site, click Activate underneath the plugin description.
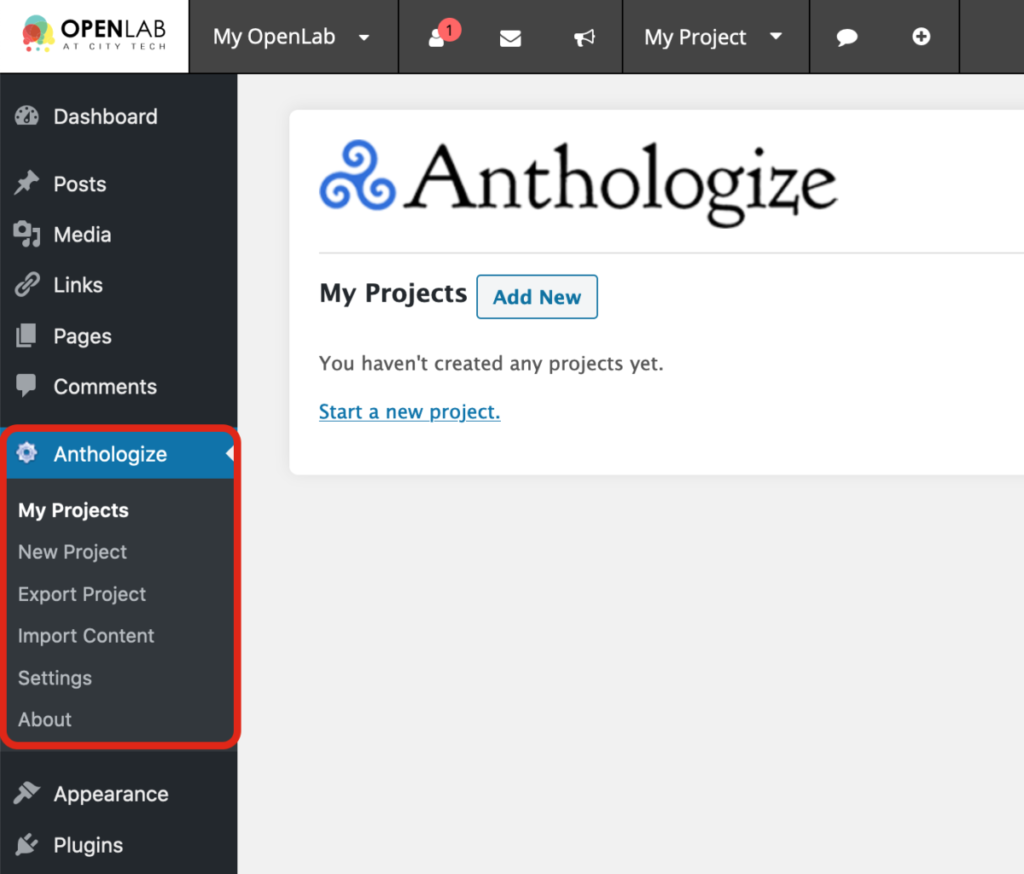
3. Once activated, the plugin title will usually appear in the left-hand menu or occasionally in the Settings menu. You can edit the settings for the plugins activated on your site here.
This article is adapted from City Tech OpenLab Help, under a CC BY-NC-SA license.