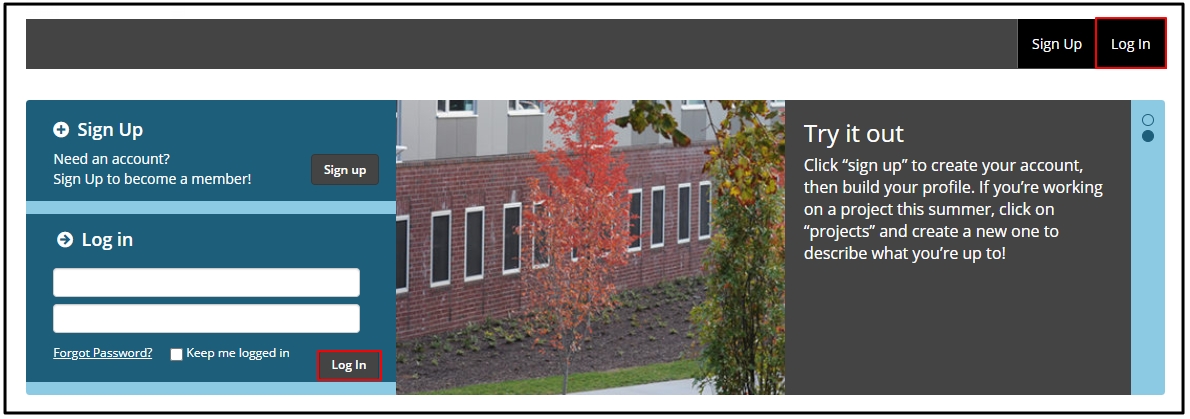
If you do not already have an account created and activated, please see how to do so here, before proceeding.
After activating your account, try to log in with your username and password at https://unewhavendh.org/
After your account is created you can join a specific group (Project, Course or Portfolio). Your Instructor might invite you or ask you to search for the course in Open Lab.
If you have searched and found the project, course or portfolio, it may be closed (image to the left) or open (image to the right).
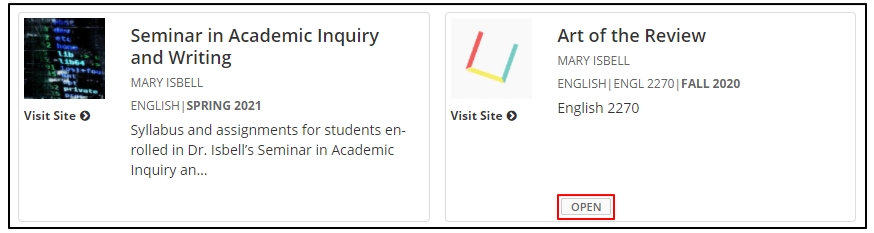
If it is open, click on the course name and press join 
If it is closed, click on the course name then select request membership. The site owner will be notified when you do so.
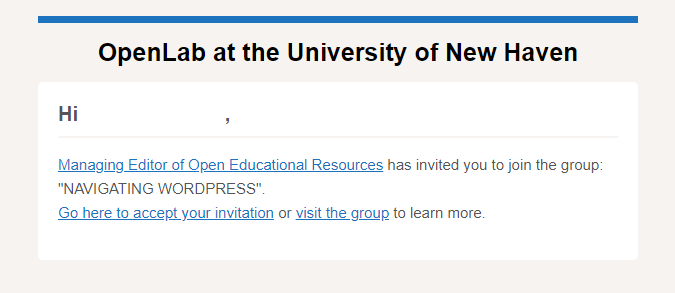
If your instructor decides to invite you, the invitation will be sent to your university e-mail. A sample image of the e-mail message is shown below.
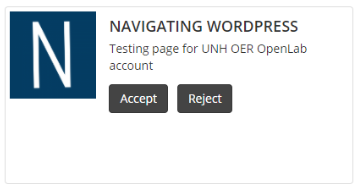
Select Go here to accept your invitation and you will be directed to a page similar to the one below. Here you will be able to Accept or Reject the invitation.
After you have accepted the invitation, you will search for the course, project or portfolio created by your instructor.
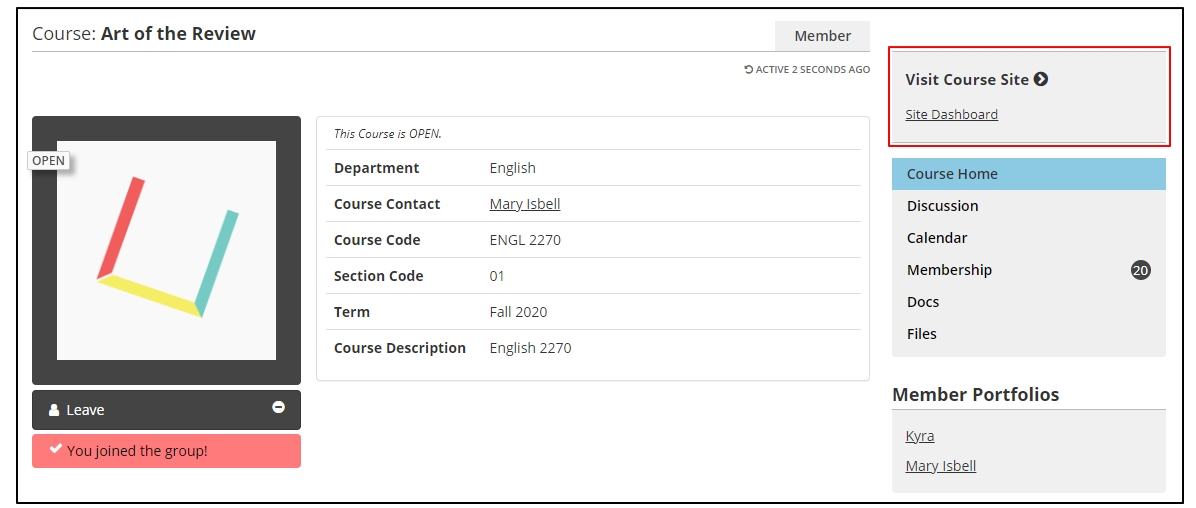
Select it and you will then be brought to the homepage of that course, or the Dashboard.
If you are brought to the homepage of the course, select Site Dashboard in the top right corner. This is highlighted in red below.
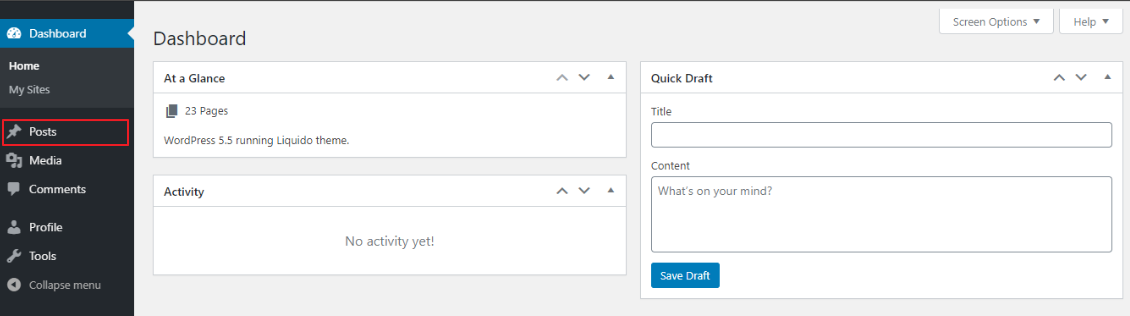
If you are brought directly to the dashboard, your page will look similar to the image below.
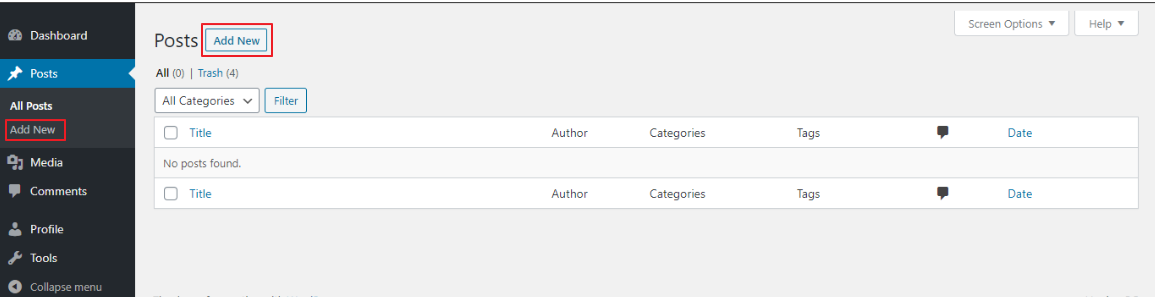
From the dashboard, select the Posts icon.  This is highlighted in the image above.
After you have selected posts, select Add New in the left corner or at the top of the page; see highlights below.
After selecting Add New, your page will look similar to the image below. Here you will be able to add your post title and post information.

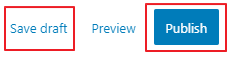
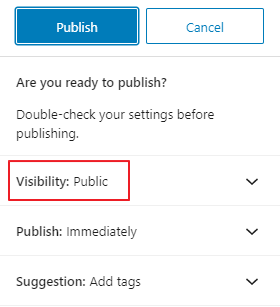
After adding your information, you will have the option to publish it, or save it as a draft for future editing.
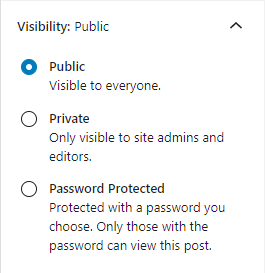
There will also be visibility options which controls who sees your posts.
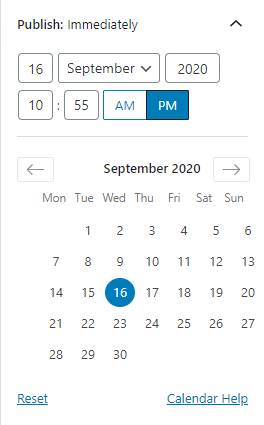
You can also select when your information is posted (time and date)
Your final post is ready to be published.